Agent-to-Agent
Enable secure communication between AI agents using the A2A protocol.
What you’ll build
In this tutorial, you configure the following.
- Run a sample A2A “Hello World” agent
- Configure agentgateway to proxy A2A requests
- Discover agent skills through the gateway
- Send tasks to the agent and receive responses
Before you begin
- uv installed (for running the sample agent)
Overview
This tutorial requires two terminal windows:
| Terminal | Purpose |
|---|---|
| Terminal 1 | Run the Hello World A2A agent on port 9999 |
| Terminal 2 | Run agentgateway on port 3000 |
┌──────────────┐      ┌──────────────────┐      ┌─────────────────┐
│   Playground │ ──── │  agentgateway   │ ──── │  Hello World    │
│   (Browser)  │      │     :3000        │      │  Agent :9999    │
└──────────────┘      └──────────────────┘      └─────────────────┘
                           Terminal 2              Terminal 1
Terminal 1: Start the A2A Agent
Step 1: Clone the sample agents
git clone https://github.com/a2aproject/a2a-samples.git
cd a2a-samples
Step 2: Create environment file (optional)
cat > .env << 'EOF'
# Required for LLM-powered agents (not needed for hello world)
OPENAI_API_KEY=your-openai-key
ANTHROPIC_API_KEY=your-anthropic-key
GOOGLE_API_KEY=your-google-key
EOF
ℹ️
The Hello World agent doesn’t require any API keys. The
.env file is only needed if you want to try other agents like the LangGraph or Google ADK agents.Step 3: Start the Hello World agent
cd samples/python/agents/helloworld
uv run --python 3.12 .
⚠️
macOS users: If you see a
pydantic-core build error about Python version compatibility, make sure to use --python 3.12 (or 3.11/3.13). Python 3.14 is not yet supported by some dependencies.Example output:
INFO: Uvicorn running on http://0.0.0.0:9999 (Press CTRL+C to quit)Keep this terminal running and open a new terminal for the next steps.
Terminal 2: Start agentgateway
Step 4: Install agentgateway
curl -sL https://agentgateway.dev/install | bashStep 5: Create the config
cat > config.yaml << 'EOF'
# yaml-language-server: $schema=https://agentgateway.dev/schema/config
binds:
- port: 3000
  listeners:
  - routes:
    - policies:
        cors:
          allowOrigins: ["*"]
          allowHeaders: [content-type, cache-control]
        a2a: {}
      backends:
      - host: localhost:9999
EOF
Step 6: Start agentgateway
agentgateway -f config.yamlYou should see:
INFO agentgateway: Listening on 0.0.0.0:3000
INFO agentgateway: Admin UI available at http://localhost:15000/ui/
Test in the Playground
Step 7: Open the Playground
Visit http://localhost:15000/ui/playground:
- Select your A2A route
- Click Connect to discover the agent’s skills
- Select the “Returns hello world” skill
- Type a message and click Send Task
Example output:
{"kind":"text","text":"Hello World"}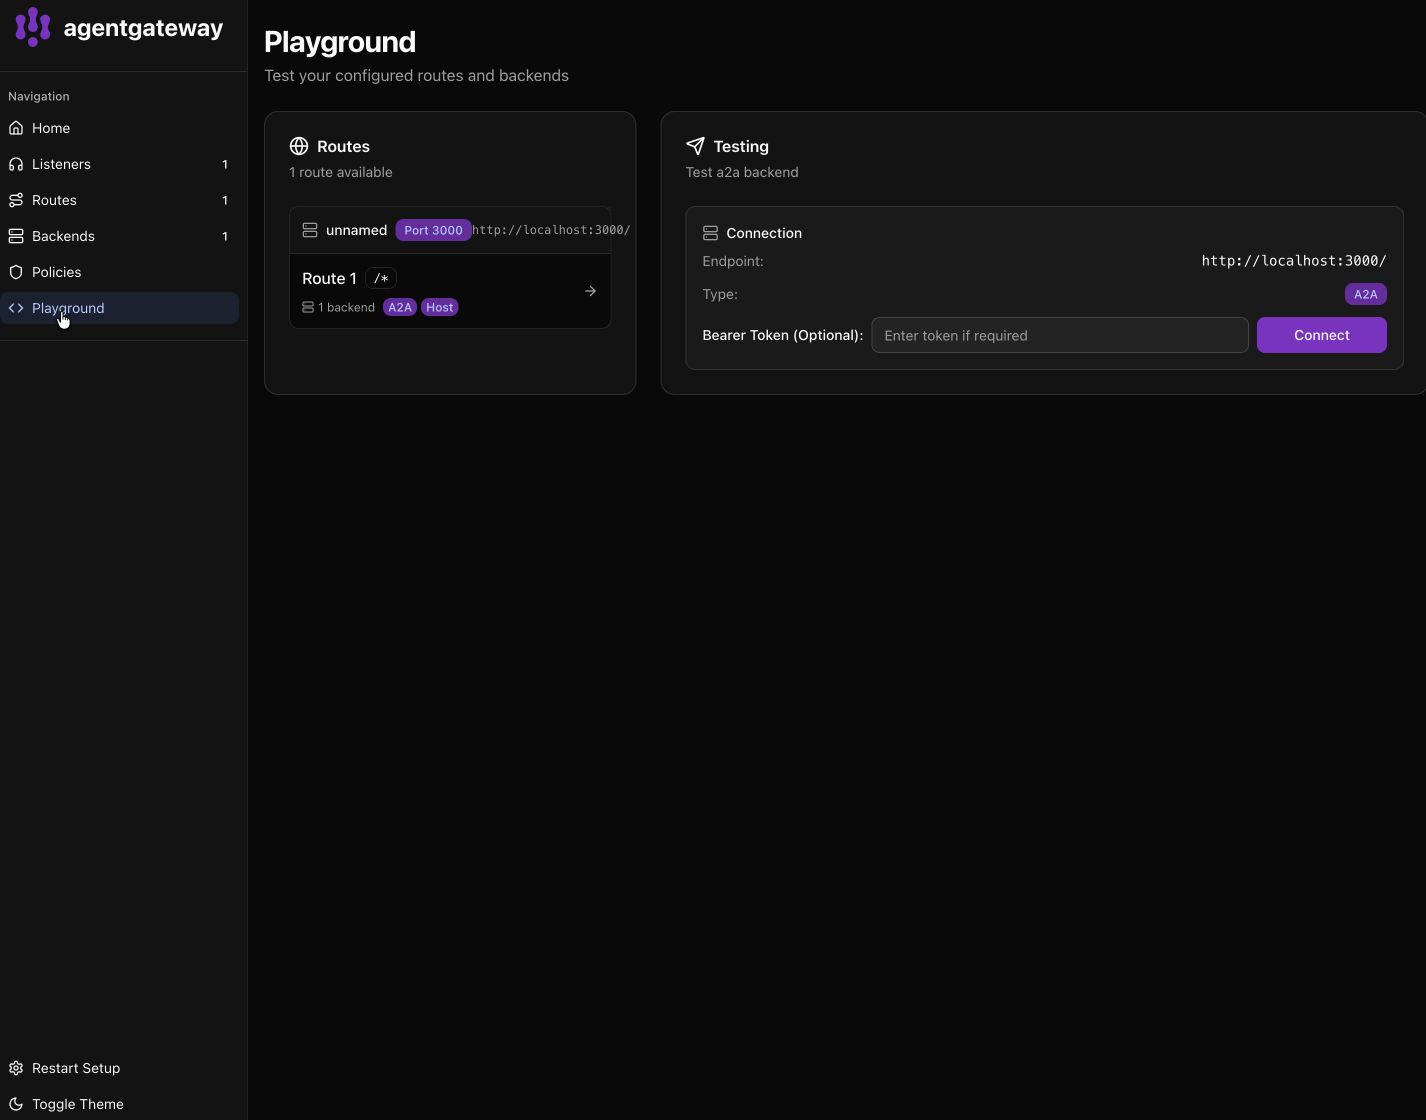
What’s happening?
- Terminal 1: The Hello World agent runs on port 9999 and handles A2A requests
- Terminal 2: Agentgateway runs on port 3000 and proxies requests to the agent
- Browser: The Playground UI connects through agentgateway to interact with the agent
Agentgateway provides:
- Automatic agent card URL rewriting to point to the gateway
- Add authentication, rate limiting, and observability transparently
- A unified endpoint for multiple backend agents
